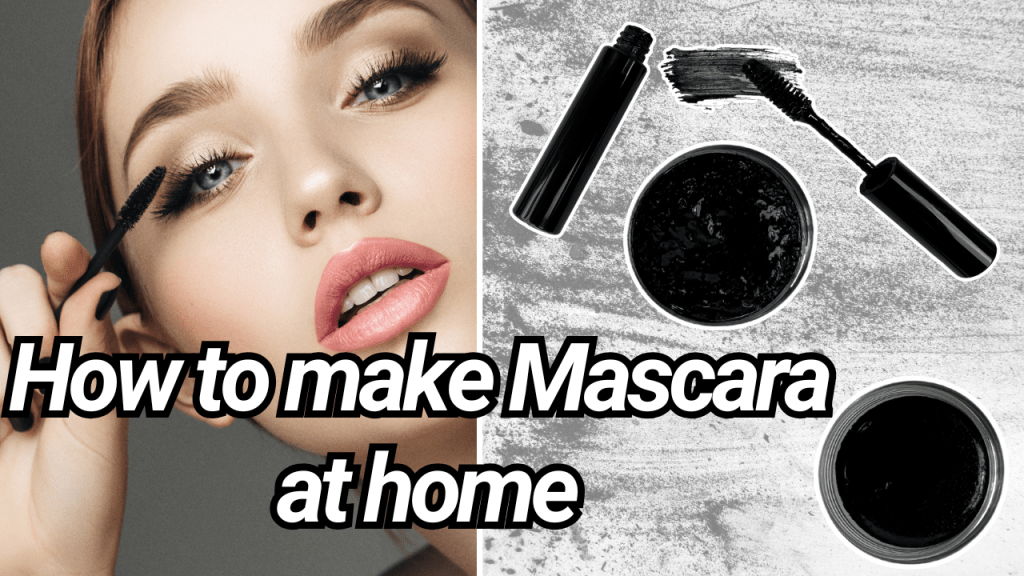
Welcome to our comprehensive guide on creating your own natural mascara at home! Whether you’re passionate about clean beauty, looking to save money, or simply enjoy crafting your own cosmetics, this DIY mascara recipe is perfect for you. With easily accessible ingredients and straightforward steps, you’ll achieve stunning, voluminous lashes without relying on store-bought products filled with harsh chemicals.
Why Make Your Own Mascara?
Creating your own mascara offers numerous benefits:
- Control Over Ingredients: Avoid harmful chemicals and customize your mascara to suit your preferences and sensitivities.
- Cost-Effective: Save money by making high-quality mascara at home.
- Eco-Friendly: Reduce packaging waste and opt for sustainable ingredients.
- Personal Satisfaction: Enjoy the process of crafting a beauty product tailored just for you.
Ingredients and Their Roles
Making mascara involves blending various ingredients in different phases: oil, water, and cool-down. Each ingredient plays a crucial role in achieving the desired texture, consistency, and performance. Below are the ingredients you’ll need, along with alternatives where applicable.
Oil Phase
- .06 grams Candelilla Wax
- Role: A natural vegan wax that acts as a thickener, providing structure to the mascara and ensuring it applies smoothly.
- Alternative: Beeswax can be used as a substitute if you prefer an animal-derived wax. For a softer texture, carnauba wax is another plant-based alternative.
- 1 grams Misopropyl Myristate
- Role: An emollient that helps the mascara glide onto your lashes without clumping.
- Alternative: Jojoba Oil or Sweet Almond Oil can replace misopropyl myristate, offering similar emollient properties with added nourishment for your lashes.
- 1.6 grams Castor Oil
- Role: Renowned for promoting lash growth, castor oil adds volume and length to your lashes.
- Alternative: Olive Oil or Vitamin E Oil can be used if you prefer a different consistency or added antioxidant benefits.
- 1.2 grams Olivem Protect
- Role: A natural emulsifier derived from olive oil, it helps blend oil and water phases seamlessly.
- Alternative: Beeswax combined with BTMS-50 (a conditioning emulsifier) can serve as an alternative emulsifying agent.
- .6 grams Shea Butter
- Role: Moisturizes and nourishes lashes, preventing dryness and brittleness.
- Alternative: Cocoa Butter or Mango Butter can be used for similar moisturizing benefits with a slightly different texture.
- .2 grams Magnesium Stearate
- Role: Enhances the texture, ensuring smooth application and preventing separation of ingredients.
- Alternative:Silica Powder or Zinc Stearate can be used to improve texture and consistency.
Water Phase
- 10grams Distilled Water
- Role: The base of the water phase, ensuring the mixture is free from impurities.
- Alternative: Rose Water or Green Tea can be used for added skin benefits and a pleasant fragrance.
- 1gram Acacia Gum
- Role: A natural binder that helps the mascara adhere to your lashes, providing longevity.
- Alternative: Carbomer or Guar Gum can replace acacia gum as thickening agents to achieve the desired consistency.
- 1 gram Glycerin
- Role: A humectant that attracts moisture, keeping lashes hydrated and preventing flaking.
- Alternative: Honey or Aloe Vera Gel can be used as natural humectants to maintain moisture levels.
- .1 gram Xanthan Gum
- Role: A thickening agent that gives the mascara its creamy texture.
- Alternative: Hydroxyethylcellulose or Agar Agar can be used to achieve a similar thickening effect.
Cool Down Phase
- .1 gram Vitamin E
- Role: Acts as an antioxidant, nourishing lashes and extending the mascara’s shelf life.
- Alternative: Rosehip Oil or Argan Oil can provide similar antioxidant benefits while adding additional nourishment.
- .6 gram Ecocert Preservative
- Role: Ensures the mascara remains fresh and safe to use by preventing microbial growth.
- Alternative: Leucidal Liquid SF or Geogard ECT are natural preservatives that can be used to maintain the product’s integrity.
- 2 grams Charcoal Powder
- Role: Provides natural black color, giving your mascara a rich, intense shade.
- Alternative: Activated Cocoa Powder, Beetroot Powder, or Cinnamon can be used to naturally color your mascara. Alternatively, you can use black pigment for a more intense and consistent color.
Tools You’ll Need
- Double Boiler: For safely melting ingredients.
- Beakers or Heat-Safe Containers: To mix different phases.
- Immersion Blender or Milk Frother: For blending ingredients smoothly.
- Digital Scale: To measure ingredients accurately.
- pH Strips: To check the mascara’s pH level.
- Mascara Containers: For storing your finished product.
- Stirring Utensils: Such as a silicone spatula or stainless steel spoon.
- Protective Gear: Gloves and goggles for safety.
Step-by-Step Instructions
1. Prepare Your Workspace
Ensure all your tools and containers are clean and sterilized to prevent contamination. This step is crucial for the longevity and safety of your mascara.
2. Weigh and Measure Ingredients
Accurate measurements are essential for consistency. Use a digital scale to weigh each ingredient precisely.
3. Oil Phase Preparation
- Combine Ingredients: In a heat-safe container, add the candelilla wax (or your chosen alternative), misopropyl myristate (or substitute), castor oil (or alternative), Olivem Protect (or alternative), and shea butter (or alternative).
- Melt the Mixture: Place the container in a double boiler and gently heat until all ingredients are fully melted and combined. Stir occasionally to ensure uniformity.
4. Water Phase Preparation
- Mix Water-Based Ingredients: In a separate container, combine distilled water (or alternative), acacia gum (or substitute), glycerin (or alternative), and xanthan gum (or alternative).
- Heat the Mixture: Place this container in the double boiler and heat until the gums are fully dissolved, forming a smooth, thick liquid.
5. Combining Oil and Water Phases
- Emulsify: Slowly pour the water phase into the oil phase while continuously stirring. Using an immersion blender or milk frother, blend the mixture thoroughly to ensure both phases are well incorporated, resulting in a smooth, creamy texture.
6. Cool Down Phase
- Add Final Ingredients: Once the mixture has cooled down slightly, add magnesium stearate (or alternative), vitamin E (or alternative), Ecocert preservative (or substitute), and charcoal powder (or alternative). Blend again to ensure all ingredients are evenly distributed.
- Check Consistency: The mascara should now have a smooth, creamy, and slightly gluey texture, perfect for application.
7. pH Adjustment
- Test the pH: Use pH strips to check the mascara’s pH level. It should be between 4.4 and 5.5 to ensure it’s safe for use around the delicate eye area.
- Adjust if Necessary: If the pH is outside the desired range, adjust accordingly by adding small amounts of citric acid (to lower pH) or a baking soda solution (to raise pH).
8. Setting and Storage
- Set the Mascara: Allow the mixture to set for 24 hours. This resting period helps the mascara reach its full consistency and ensures stability.
- Transfer to Container: After 24 hours, transfer the mascara to a clean container. For small batches (20 grams), a regular plastic jar works well. For larger batches, consider using a mascara bottle for better functionality and aesthetics.
Tips for Success
- Sterilize Everything: Always ensure that all your tools and containers are sterilized to prolong the shelf life of your mascara and prevent contamination.
- Accurate Measurements: Use a precise digital scale for measuring ingredients to maintain consistency in each batch.
- Blend Thoroughly: Proper blending ensures a smooth texture and prevents separation of ingredients.
- Store Properly: Keep your mascara in a cool, dry place away from direct sunlight to maintain its quality.
- Patch Test: Before using your homemade mascara, perform a patch test to ensure you don’t have any allergic reactions to the ingredients.
Storing Your Mascara
Homemade mascara typically has a shelf life of about 3-6 months, depending on the preservatives used and storage conditions. Always use clean tools when applying mascara to prevent introducing bacteria. Consider labeling your containers with the date of creation to keep track of its freshness.
Final Thoughts
Making your own mascara at home is a rewarding process that allows you to tailor your beauty products to your specific needs and preferences. By following this detailed guide and utilizing alternative ingredients as needed, you can create a safe, effective, and natural mascara that enhances your lashes beautifully. Enjoy your personalized makeup creation and the confidence that comes with knowing exactly what you’re applying to your eyes!


Laisser un commentaire