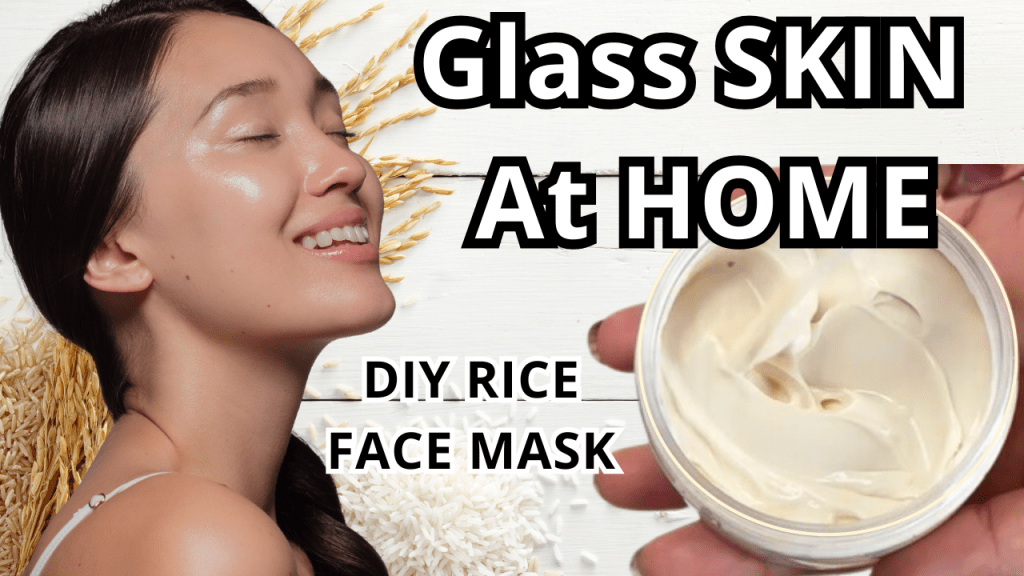
Ever dreamed of achieving that flawless, dewy skin you see in Korean dramas? What if I told you the secret isn’t an expensive product but a simple ingredient hiding in your kitchen—rice! Today, we’re unlocking an ancient Korean beauty secret by turning humble rice into a luxurious face mask. Get ready to transform your skin and glow like never before with this easy DIY!
Why Rice Is Amazing for Your Skin
Rice has been a staple in Asian beauty rituals for centuries. Rich in vitamins B and E, minerals, and amino acids, rice water is known for its ability to:
- Brighten and even out skin tone
- Reduce inflammation and irritation
- Hydrate and moisturize the skin
- Protect against UV damage with its antioxidant properties
By incorporating rice into your skincare routine, you’re tapping into a natural, cost-effective way to achieve healthier, glowing skin.
Recipe
Water Phase
55g Distilled water6g Propanediol
Oil Phase
8g Rice bran oil3g Shea butter5g Olivem 10002g myristate isopropyl1g stearic acid2g Demithecone
Cooldown Phase
10g Rice powder4g Ecocert preservative3g Rice protein0.5 E.O/fragrance0.5g Vitamin E
Equipment Required
- Digital scale (for accurate measurements)
- Heat-resistant glass beakers or bowls
- Double boiler or a saucepan and heatproof bowls for a water bath
- Immersion blender or mini whisk
- Spatula
- Thermometer
- pH strips or a pH meter
- Clean, sterilized containers for storage
- Fine mesh strainer
Step-by-Step Instructions
1. Prepare the Water Phase
a.Rice water preparation
- Rinse 2 tablespoons of white rice thoroughly under running water to remove any impurities.
- Place the rice in a clean bowl.
- Pour distilled water over the rice, ensuring it’s fully submerged.
- Allow the rice to soak in the distilled water for 30 minutes. This process extracts the beneficial nutrients from the rice into the water.
- After soaking, strain the rice water into a clean container using a fine mesh strainer.
- Tip: Don’t discard the soaked rice! You can use it to make homemade rice cream. Check out this blog posts for a recipe : https://selfcaredifferently.com/2024/01/04/rice-cream-awesome-skin
b. Water phase preparation
- In a beaker, weigh 55 grams of the rice water.Then, pour the propanediol into the beaker and mix well.
2. Prepare the Oil Phase
In a separate heat-resistant beaker, combine the following ingredients:
- Rice bran oil: Nourishes and protects the skin with antioxidants.
- Shea butter: Deeply moisturizes and soothes dry skin.
- Olivem 1000: An emulsifier that blends oil and water phases seamlessly.
- Isopropyl myristate: Enhances texture and absorption.
- Stearic acid: Thickens and stabilizes the mask.
- Dimethicone: Provides a silky feel and locks in moisture.
3. Heating Both Phases
a. Set Up a Double Boiler
- Place both the water phase (rice water mixture) and the oil phase in separate heat-resistant containers.
b. Heat the Phases
- Heat both containers in a double boiler or water bath to approximately 70°C (158°F).
- Stir the oil phase occasionally to ensure all solids melt evenly.
- Note: Heating both phases to the same temperature is crucial for proper emulsification.
4. Emulsification
a. Reweigh and Adjust Water Phase
- After heating, reweigh the water phase. If any water has evaporated, add few dops of distilled water to reach the original weight.
b. Combine Oil and Water Phases
- Slowly pour the oil phase into the water phase while stirring continuously.
c. Blend the Mixture
- Use an immersion blender to blend the mixture for about 3-5 minutes until it becomes creamy and well-emulsified.
d. Scrape Down the Sides
- Use a spatula to scrape down the sides of the container to ensure all ingredients are fully incorporated.
5. Cooldown Phase
Allow the mixture to cool to around 40°C (104°F) before adding heat-sensitive ingredients.
Add the Following Ingredients:
- Rice powder: For gentle exfoliation and brightening.
- Rice protein: Nourishes and strengthens the skin.
- Vitamin E oil: Acts as an antioxidant and extends shelf life.
- Ecocert preservative: Add as per manufacturer’s instructions to prevent microbial growth.
- Essential oil or fragrance (optional): Add a few drops for a pleasant scent.
- Mica powder (optional): A pinch for a subtle shimmer.
Mix Thoroughly
- Gently stir all the cooldown ingredients into the emulsified mixture until fully combined.
6. Adjusting the pH
a. Test the pH
- Take 1 gram of the mask and mix it with 9 grams of distilled water.
- Stir well and measure the pH using pH strips or a pH meter.
- Aim for a pH between 4.5 and 5.5, which is ideal for skin products.
b. Adjust if Necessary
- If pH is too high (above 5.5):
- Add a few drops of lactic acid to lower it.
- If pH is too low (below 4.5):
- Add a small amount of baking soda (sodium bicarbonate) to raise it.
- Re-test the pH after each adjustment.
7. Let It Set Overnight
- Transfer the mixture back into a clean container and let it sit overnight.
- This allows the mask to reach its final, creamy consistency.
Admire Your Creation
- The next day, you’ll find the mask has thickened into a luxurious, creamy texture.
- Tip: Give it a gentle stir to ensure consistency before packaging.
8. Packaging
- Transfer your homemade rice face mask into clean, sterilized containers.
- Seal tightly to prevent contamination.
- Optional: Label your containers with the date and ingredients.
How to Use the Rice Face Mask
- Cleanse your face thoroughly to remove any makeup or impurities.
- Apply a generous layer of the rice face mask to your face and neck, avoiding the eye area.
- Leave it on for 15-20 minutes.
- Gently massage in circular motions before rinsing off to benefit from the rice powder’s exfoliating properties.
- Rinse off with lukewarm water and pat dry.
- Follow up with your favorite toner and moisturizer.
Use this mask 1-2 times a week for best results.
Storage and Shelf Life
- Shelf Life: With the preservative added, the mask should last up to 3 months when stored properly.
- Storage: Keep the mask in a cool, dry place away from direct sunlight.
- Hygiene Tips:
- Always use clean hands or a spatula to scoop out the mask.
- Avoid introducing water into the container to prevent contamination.
Final Thoughts
And there you have it—a nourishing, luxurious rice face mask made right at home! Your skin is going to absolutely love this natural treat. It’s a wonderful way to pamper yourself and take some time for self-care.
Remember, the exact measurements and detailed instructions are available right here in this blog post.
If you try this DIY rice face mask, I’d love to hear how it works for you! Feel free to leave a comment below with your experience or any questions you might have.
Don’t forget to check out my other DIY skincare recipes and subscribe to my newsletter for more beauty secrets.
Thanks for reading !


Laisser un commentaire