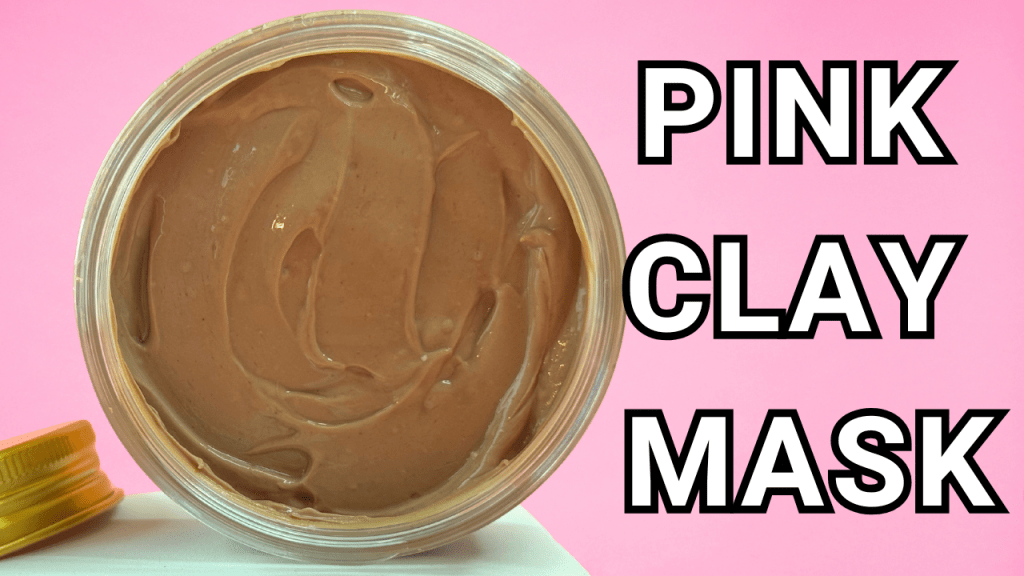
Hello, skincare enthusiasts! In today’s recipe, we’re diving into the art of creating a luxurious rose clay mask. This DIY mask is perfect for gently cleansing and rejuvenating your skin, leaving it smooth, radiant, and refreshed. Let’s walk through each step to make this beautiful mask from scratch!
Ingredients and recipe :
To create this rose clay mask, you’ll need the following ingredients:
Water phase
- 65,9 Rose powder infusion
- 7g Glycerin
- 3g Acacia gum
Oil phase
- 1g Rose wax
- 2g Cetyl alcohol
- 1g strearic acid
- 5g emulsifying wax
- 4g RoseHip oil
- 2g dimethicone
CoolDown phase
- 6g Pink Clay
- 1g Oat colloida1
- .5g Rose fragrance
- .6g Leucidal
- .5g Vitamin E
- .5g Allantoin
Step-by-Step Guide
1. Prepare the Rose Infusion
Before we start with the mask, we need to prepare a rose infusion. Pour distilled water into a beaker and add rose powder. Mix thoroughly until fully combined, then let it sit aside for the rose powder to infuse into the water. This infusion will be the base of our water phase, which adds a touch of natural beauty and scent to the mask.
2. Create the Glycerin Mixture
For the water phase, start by mixing glycerin with acacia gum. This step helps the acacia gum dissolve smoothly once it’s combined with the rest of the water ingredients.
3. Strain the Rose Infusion
Now, bring your rose infusion and strain it through a cheesecloth to remove any solids. Then, measure the exact amount needed for the water phase to ensure accuracy.
4. Combine Glycerin and Rose Infusion
Pour your glycerin mixture into the rose infusion and mix until well blended.
5. Prepare the Oil Phase
In a separate beaker, combine all the oil phase ingredients. Ensure each ingredient is measured accurately to maintain the consistency and texture of the final mask.
6. Heat Both Phases
Heat both the water and oil phases to the same temperature. This will allow the two phases to blend smoothly without separating.
7. Reweigh and Adjust for Evaporation
Once heated, reweigh the water phase and add any distilled water needed to replace what was lost due to evaporation.
8. Combine Phases
Pour the oil phase into the water phase and blend with an immersion blender for a few seconds to create a smooth, even mixture. Then, switch to a spatula to finish mixing gently.
9. Cool and Add Cooldown Ingredients
Allow the mixture to cool to room temperature. Once cooled, add your cooldown phase ingredients, including your preservative (I’m using Leucidal for a gentle preservation). You can also add rose fragrance for a lovely scent, but feel free to skip it if you prefer a fragrance-free product.
Pro Tip: I also added allantoin for its skin-soothing benefits. You can add this as an optional ingredient.
10. Blend and Check the pH
Give the mask a final blend with an immersion blender for a smooth, creamy consistency. Then, create a dilution with distilled water and check the pH level using a pH meter or pH strips. The pH should ideally be between 4.5 and 5.5 for skin safety.
11. Let It Set Overnight
Once your mask has a stable pH and consistency, let it set overnight before packaging. This helps the mask achieve its final texture.
12. Ready to Use!
After setting overnight, your mask should have a beautifully creamy texture, ready to give your skin that glow you’re looking for!
Final Thoughts
This rose clay mask is a soothing, spa-like treat for your skin. It’s perfect for those self-care moments when you want a natural, gentle way to cleanse and nourish. I’d love to hear your thoughts on this DIY mask! Let me know in the comments if you’ll be trying it out or if you have any questions about the process.


Laisser un commentaire